Featured


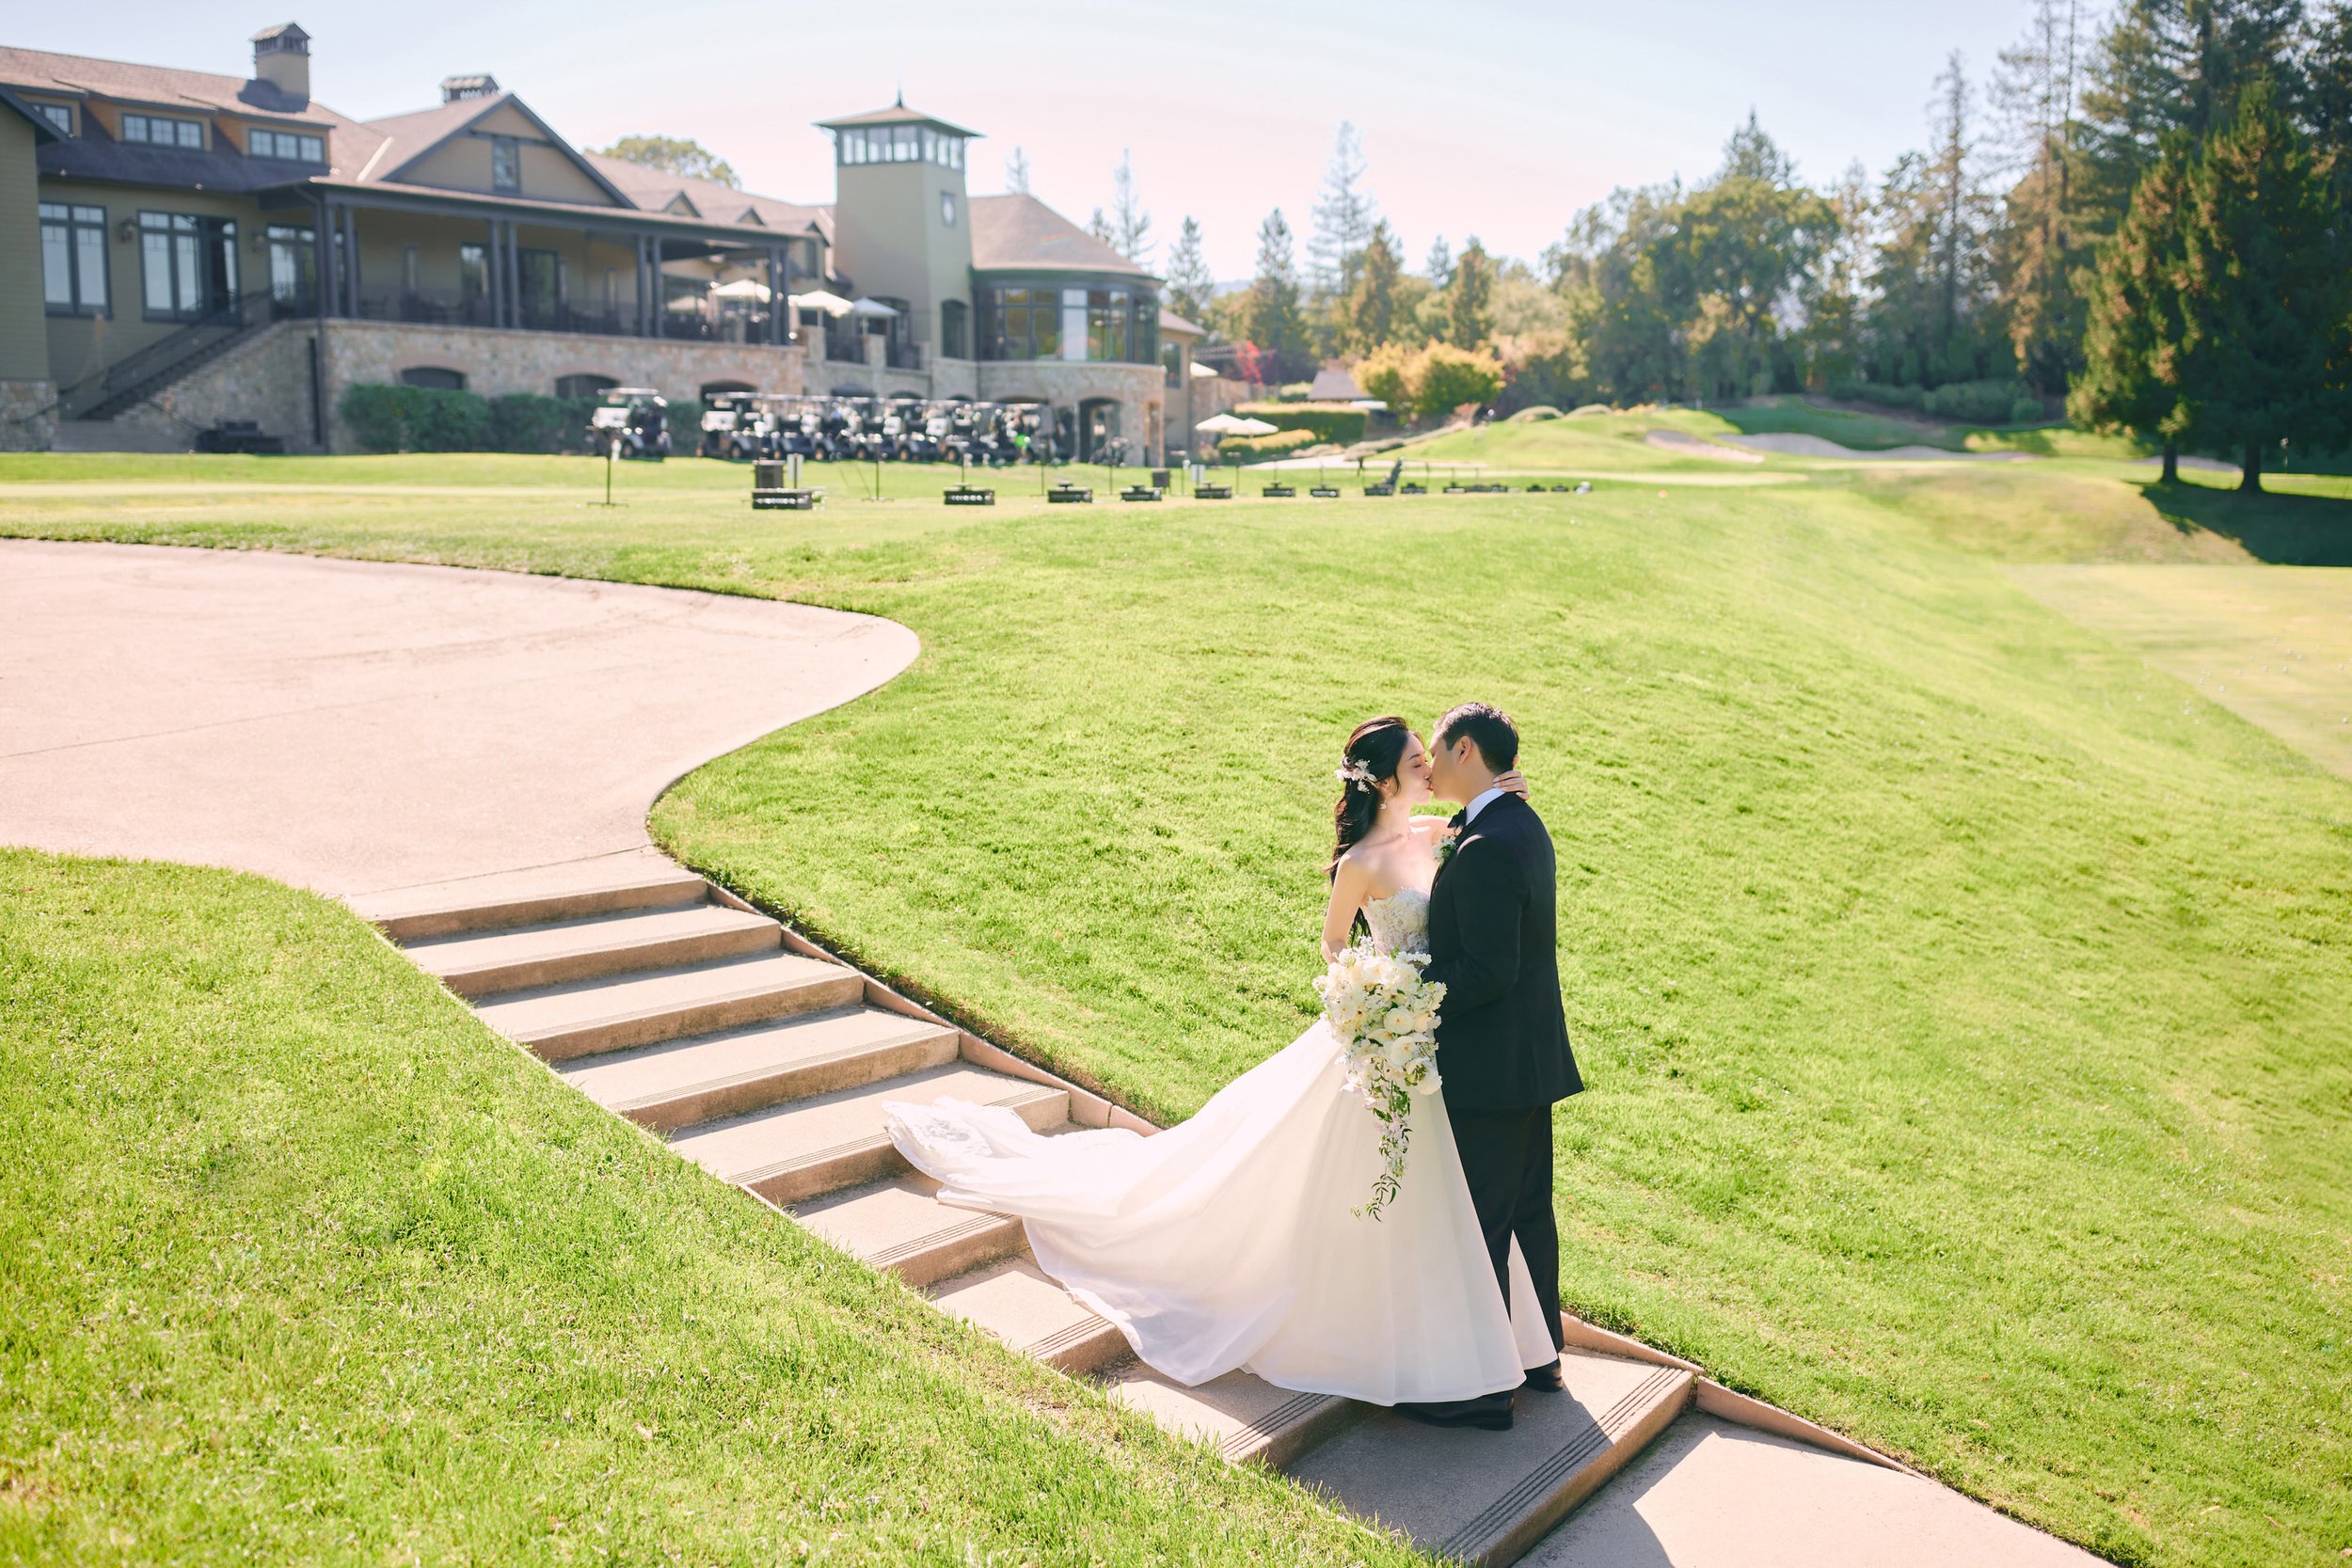


San Francisco Wedding Photographer
A City Hall ceremony may only last a few minutes—but it’s one of the most meaningful moments of your life. As a Bay Area wedding photographer who’s photographed countless ceremonies here, I’ve seen some common mistakes that can affect how your photos turn out. So here are a few tips to help you look and feel your best—no regrets!
1. How should the bride and groom stand?
Believe it or not, where you and your partner stand really matters. It affects the lighting and overall look of your ceremony photos.
💡 Tip: If I’m your photographer, I recommend the bride stand on the side closer to the elevator. That way, the lighting I set up will hit you in the most flattering way.
Once you're in position, I’ll help fix the train or dress so it looks nice and even. If you’re wearing a big gown, try not to move around too much once you're in place—it helps keep things clean in the photos.

Good example ✅
Standing just close enough to look natural and connected.
If you're too far apart, your arm ends up stretching awkwardly when you hold hands—and trust me, it shows in the photos!

❌

✅
Because she's standing too far away, the bride's arms tend to stretch out straight, which makes her pose look a bit stiff and unnatural.

In the photo on the right, the bride is the one reaching out. While there’s nothing wrong with that, it doesn’t come across as quite as elegant. For a more romantic and visually pleasing moment, it’s ideal when the groom gently takes the bride’s hand—it adds a subtle, tender feeling to the photo.
Take your time – City Hall lighting can be a bit dim, and I may be using flash. If you move too quickly, the moment might not be captured clearly.
Let the ring show – Hold the ring with your fingertips and tilt it slightly so it’s visible to the camera. Avoid covering it with your hand.
Hand positioning matters – Gently guide your partner’s hand, keeping their ring and middle fingers close together. This prevents awkward finger spacing in the photo as you slide the ring on.
Wearing an engagement ring? Make sure the diamond is centered and facing forward—not crooked or off to the side.

❌

✅
When holding your partner's hand with your left hand, make sure their middle and ring fingers are placed together to avoid pointing the middle finger at them. Use your right hand to put the ring on your partner’s left ring finger.

✅

❌
Make sure the diamond on your partner’s engagement ring is centered over the knuckle, with equal distance on both sides. Ideally, it should be parallel to the joint line. Slide it on slowly and try to avoid tilting it to one side.

❌
When the officiant says “You may kiss the bride,” take a breath, lean in, and keep it classy:
Hug gently
Close your eyes
Skip the duck lips or anything too passionate (no tongue, please 😅)
That’s it! You don’t have to be perfect—no one expects you to be. But a little prep goes a long way to making sure your ceremony photos look polished and full of heart. ✨
Have questions or want more wedding tips? Feel free to message or email me — I'm always happy to help!
#Sanfranciscocityhallwedding #Vivilinphotography #SFweddingphotographer
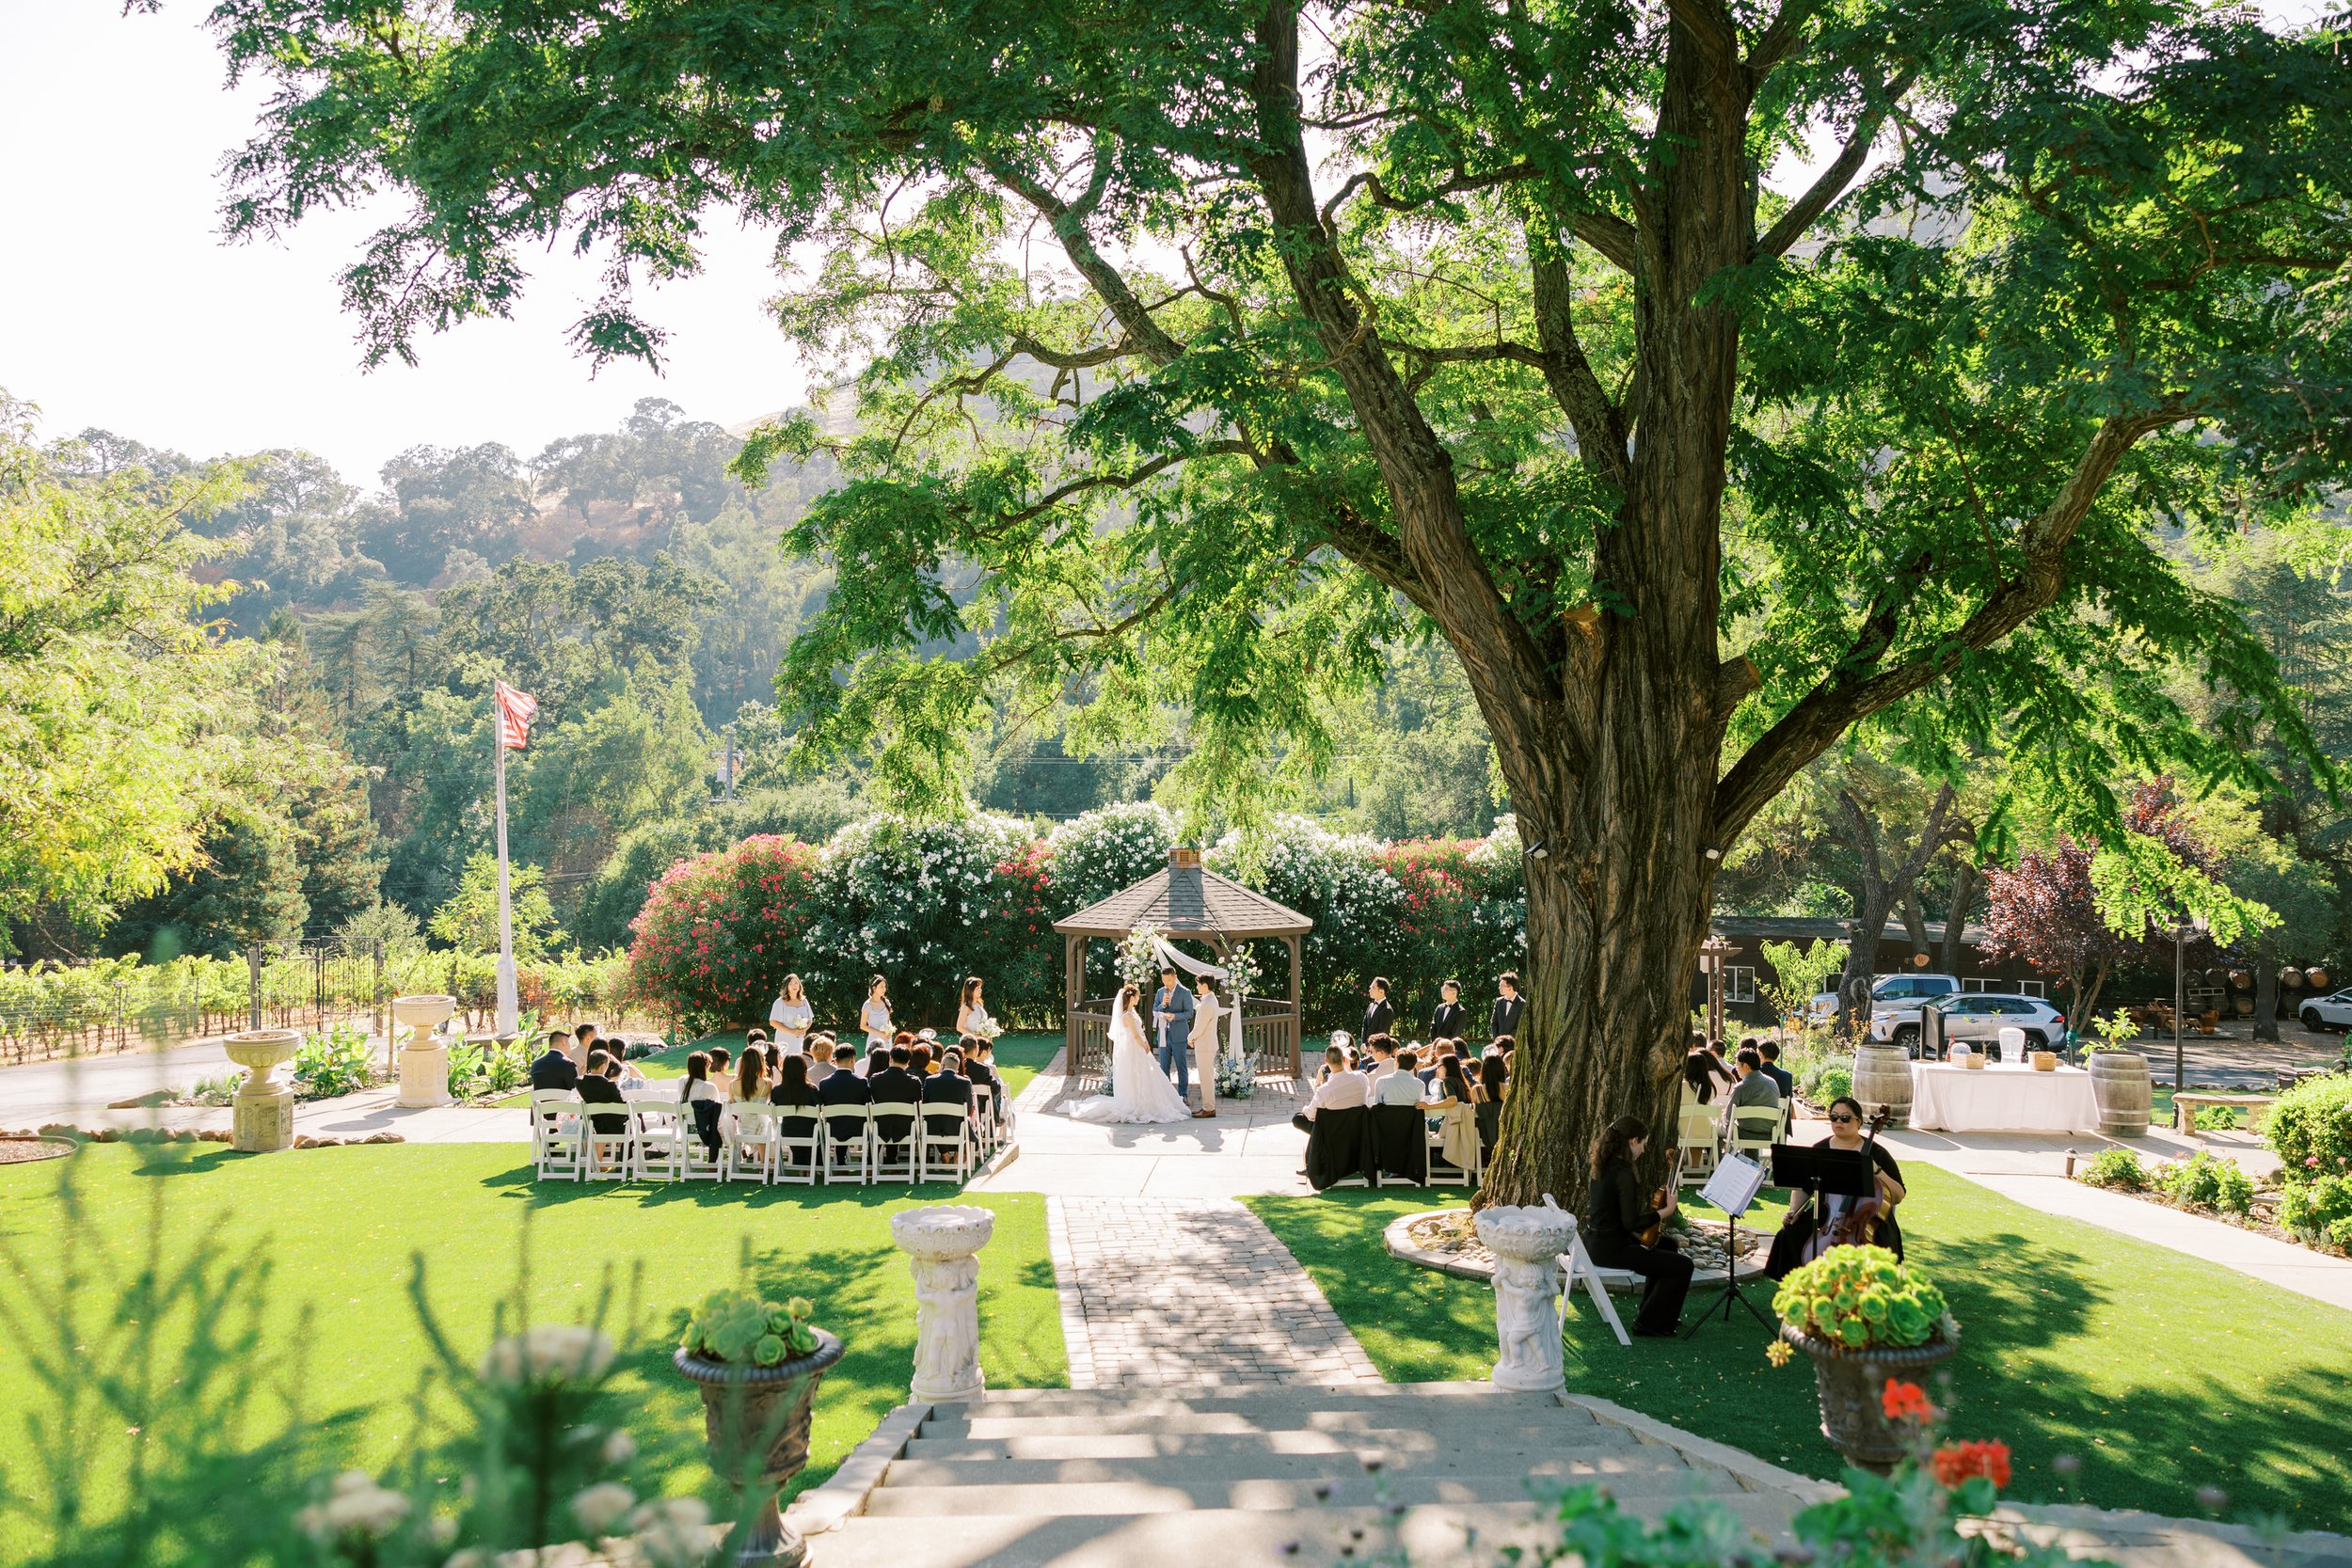
Working with Deborah & Jason, a lovely couple from Taiwan, was an absolute joy. Their trust made the entire experience seamless and rewarding.
A Thoughtful Ceremony Setup
Since February weather can be unpredictable, and outdoor ceremonies at Silver Creek Valley Country Club often face harsh sunlight, I recommended an indoor ceremony. The large windows provided soft, natural light, enhancing the white and green décor beautifully. Guests also enjoyed the comfortable setting, fully immersing themselves in the moment. **
Bridal Styling & Quick Fixes
Deborah had never dyed her hair before, but after my suggestion, she tried a tea-brown shade, which she loved. We also adjusted her straight bangs for a softer, more elegant look. On the wedding day, her gown was looser than expected due to weight loss. I quickly secured it using fabric from another dress, ensuring she felt comfortable and confident.**
More Than Just Photography
A wedding photographer’s role extends beyond taking photos. From pre-wedding consultations to styling advice and time management on the day, I ensure everything runs smoothly. Learning about fashion, florals, and event coordination helps me provide a stress-free experience for my couples.
Thank you, Deborah & Jason, for your trust, and to all the incredible vendors who made this day possible!